

I often wondered if tearing the whole interior out of the mini was a good idea. Moldy and soggy Lauan hidden behind a cheaper second layer of cardboard looking siding reassured us of our demolition choice. Exposing the inside of the walls found us a comforting aluminum frame and insulating foam. Although slightly corroded and mildewed it seems intact. Thanks for the frame RBR Corp.


Not sure of what we shall do with the roof yet we decided to remove the exterior of one wall first. Talk about soaked and delaminated plywood! There was even mud in the bottom of the wall! Needless to say, another correct demolition choice.


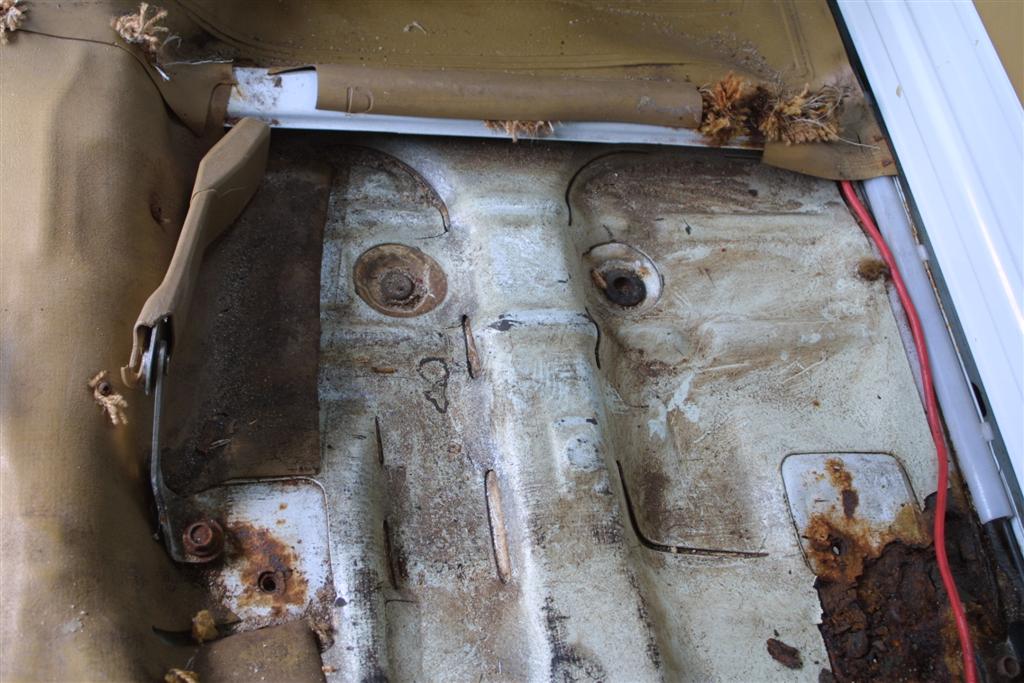
Below: The interior wood and part of the foam actually has ant damage. Go figure.

We are struggling with the choice of what to reside this thing with. I do not want to put wood back under aluminum for risk of the same. But whatever I read on Toyota Motor Home Forum Toyota Motor Home Forum? says if you make it waterproof it should stay so with maintenance. Well I’m not convinced. Actually I want to put just wood walls. Therefore if anything starts to rot I can see it. My partner is not convinced on wood walls. We’ll see. Right now we’re thinking of adding box aluminum beams in the roof because we need to support a boat.


Below is some serious frame rust that we couldn't do ourselves and had to pay quite a bit to have done. The part that held the cab to the frame had apparently rusted through, dropping the cab down with no support. Re-enforced with steal and coated in rubber, should be good and pass inspection. Seems like the sagging of the cab has ruined the driver's side shock. Ah well, we'll replace it when we replace the ball joints.


 Fox and Rabbit
 Hatching Chicks with Broody Hens


No comments:
Post a Comment